Peperomia is a diverse and charming genus of tropical plants known for its attractive foliage and easy-to-grow nature. With over a thousand species available, these plants are a popular choice among houseplant enthusiasts. In this article, we'll dive into the world of propagating peperomia, ensuring you have all the knowledge you need to multiply your collection of these beautiful plants.
Peperomia Varieties
There are numerous varieties of peperomia, each with its unique features. Here are three popular types:
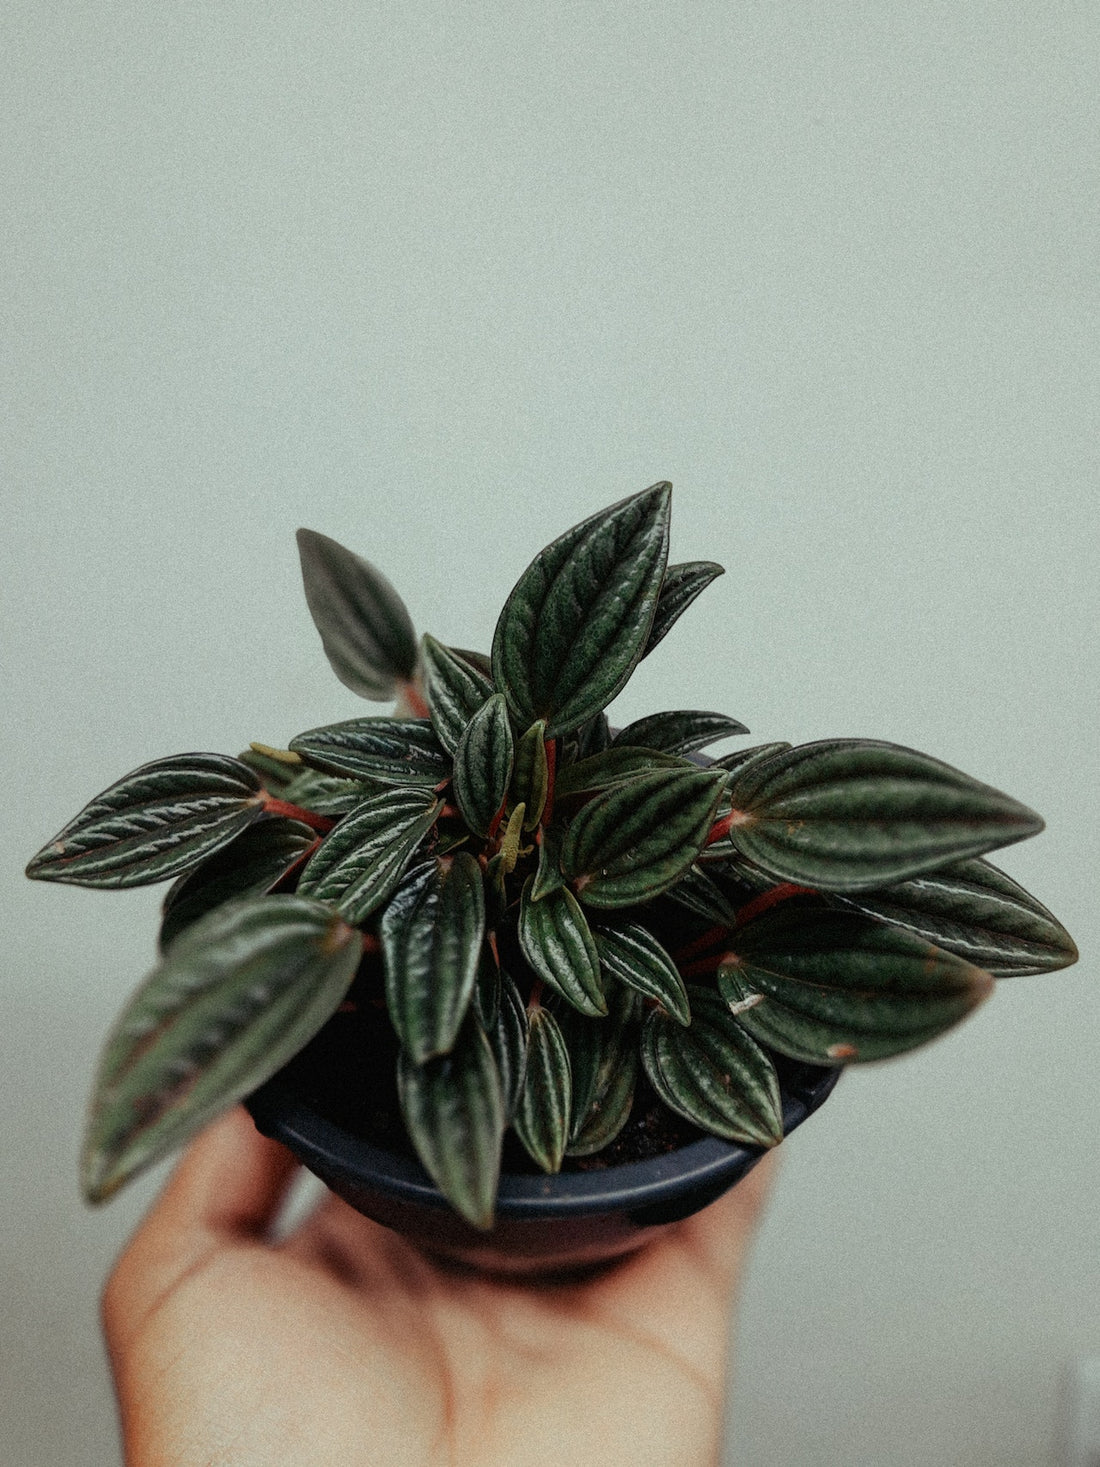
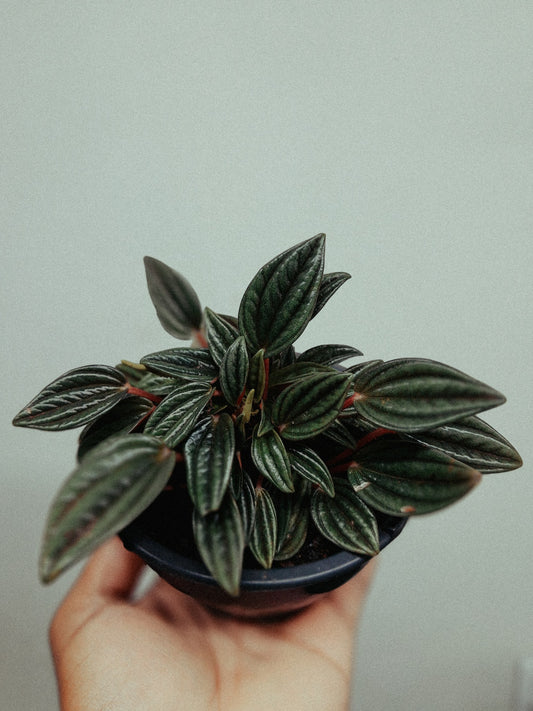
Peperomia caperata
Also known as the ripple peperomia, this species has wrinkled, heart-shaped leaves that come in a variety of colors, including green, red, and silver.
Peperomia obtusifolia
Commonly referred to as the baby rubber plant, this variety has round, glossy leaves and is available in both green and variegated forms.
Peperomia prostrata
This trailing variety, also called the string of turtles, features small, round leaves with intricate patterns, making it an excellent choice for hanging baskets or terrariums.
The Benefits of Propagating Peperomia
Propagating peperomia offers several advantages:
- Cost-effective: Instead of purchasing new plants, you can create more by propagating the ones you already have.
- Fun and educational: Propagation is an engaging activity that helps you learn more about plant care and growth.
- Gifting: Propagated plants make thoughtful, personalized gifts for friends and family.
Propagation Methods
There are three primary methods for propagating peperomia:
Leaf Cuttings
This method involves removing a healthy leaf from the parent plant and placing it in a growing medium to encourage new roots and shoots.
Stem Cuttings
Similar to leaf cuttings, stem cuttings involve taking a section of the stem with leaves attached and allowing it to root and develop into a new plant.
Division
Division is a technique used for multi-stemmed peperomia plants. It involves separating the plant into smaller parts, each with its own root system, and replanting them.
Preparing for Propagation
Before you begin propagating peperomia, ensure you have the following:
Selecting Healthy Plant Material
Choose healthy, disease-free leaves or stems for propagation. Avoid using wilted, yellowing, or damaged plant material.
Gathering Necessary Supplies
Gather the following supplies for propagation:
- A sharp, clean knife or pruning shears
- A well-draining potting mix
- Small pots or containers
- Optional: rooting hormone
Propagating Peperomia Through Leaf Cuttings
Step-by-Step Guide
- Select a healthy, mature leaf from the parent plant.
- Using a sharp, clean knife, cut the leaf from the stem, leaving about an inch of the petiole (the part connecting the leaf to the stem).
- Optional: Dip the cut end of the leaf into rooting hormone to encourage faster root development.
- Fill a small pot with a well-draining potting mix.
- Insert the cut end of the leaf into the potting mix, burying the petiole halfway.
- Water the potting mix lightly and place the pot in a warm, well-lit area, avoiding direct sunlight.
- Keep the potting mix moist but not soggy. In a few weeks, new roots and shoots should emerge.
Tips for Success
- Use a well-draining potting mix to prevent root rot.
- Keep the potting mix consistently moist but not waterlogged.
- Be patient, as peperomia can take several weeks to root and grow.
Propagating Peperomia Through Stem Cuttings
Step-by-Step Guide
- Select a healthy stem with at least two leaves.
- Using a sharp, clean knife or pruning shears, cut the stem about half an inch below the lowest leaf.
- Remove the bottom leaf, leaving only the top leaf on the cutting.
- Optional: Dip the cut end of the stem into rooting hormone to encourage faster root development.
- Fill a small pot with a well-draining potting mix.
- Insert the cut end of the stem into the potting mix, burying it about an inch deep.
- Water the potting mix lightly and place the pot in a warm, well-lit area, avoiding direct sunlight.
- Keep the potting mix moist but not soggy. In a few weeks, new roots should develop.
Tips for Success
- Ensure your cutting has at least one healthy leaf to facilitate photosynthesis.
- Be patient, as peperomia stem cuttings may take several weeks to root.
Propagating Peperomia Through Division
Step-by-Step Guide
- Carefully remove the parent plant from its pot, exposing the root system.
- Identify natural divisions within the plant, ensuring each division has its own roots and stems.
- Gently separate the divisions, being careful not to damage the roots. 4. Fill small pots with a well-draining potting mix.
- Plant each division in a separate pot, burying the roots and ensuring the base of the stems is at soil level.
- Water the potting mix lightly and place the pots in a warm, well-lit area, avoiding direct sunlight.
- Monitor the plants and water as needed, ensuring the potting mix remains moist but not soggy.
Tips for Success
- Be gentle when separating divisions to avoid damaging the roots.
- Ensure each division has a healthy root system and at least one healthy stem.
Caring for New Peperomia Plants
Once your peperomia plants have successfully rooted, follow these guidelines to ensure their continued health:
Light Requirements
Peperomia plants prefer bright, indirect light. Too much direct sunlight may cause leaf scorching, while insufficient light can result in leggy growth.
Watering
Water your peperomia plants when the top inch of the potting mix feels dry to the touch. Avoid overwatering, as it can lead to root rot.
Fertilizing
Fertilize your peperomia plants once a month during the growing season with a balanced, water-soluble fertilizer diluted to half strength.
Potting and Repotting
Plant your peperomia in a well-draining potting mix and choose a container with drainage holes. Repot your peperomia plants as needed, typically every 2-3 years, using fresh potting mix.
Troubleshooting Common Propagation Issues
If you encounter problems during the propagation process, consider the following solutions:
- Yellowing leaves: This may indicate overwatering. Allow the potting mix to dry slightly before watering again.
- No root development: Be patient, as peperomia can take several weeks to root. Ensure the potting mix remains consistently moist and provide bright, indirect light.
- Mold or fungus: Avoid overwatering and ensure proper air circulation around your plants. If mold persists, treat with a fungicide.
Conclusion
Propagating peperomia plants is a rewarding and cost-effective way to expand your collection of these beautiful, low-maintenance houseplants. With a little patience and the right care, you can successfully propagate peperomia through leaf cuttings, stem cuttings, or division, and enjoy their stunning foliage for years to come.
FAQs
Q: How long does it take for peperomia cuttings to root?
A: It may take several weeks for peperomia cuttings to develop roots, depending on factors such as temperature, light, and humidity.
Q: Can I propagate peperomia in water?
A: Yes, you can propagate peperomia stem cuttings in water. Place the cut end of the stem in a container of clean water and change the water every few days to prevent bacterial growth. Once roots develop, transfer the cutting to a pot with a well-draining potting mix.
Q: Why are the leaves on my propagated peperomia plant wilting?
A: Wilting leaves may indicate underwatering or root rot caused by overwatering. Ensure you maintain the appropriate moisture levels in the potting mix and avoid overwatering.
Q: How often should I water my newly propagated peperomia plants?
A: Water your new peperomia plants when the top inch of the potting mix feels dry to the touch. Be careful not to overwater, as this can lead to root rot. Monitor your plants closely, as their watering needs may change based on factors such as temperature and humidity.
Q5: Can I propagate peperomia from a single leaf?
A5: Yes, you can propagate certain peperomia species, such as Peperomia caperata and Peperomia argyreia, from a single leaf cutting. Follow the steps outlined in the leaf-cutting propagation section of this article for the best results.


